
Innovative Equipment Engineered to Last
Discover Barreto Manufacturing's 40 years of innovative, durable landscaping equipment, along with expert tips and local highlights for your projects.
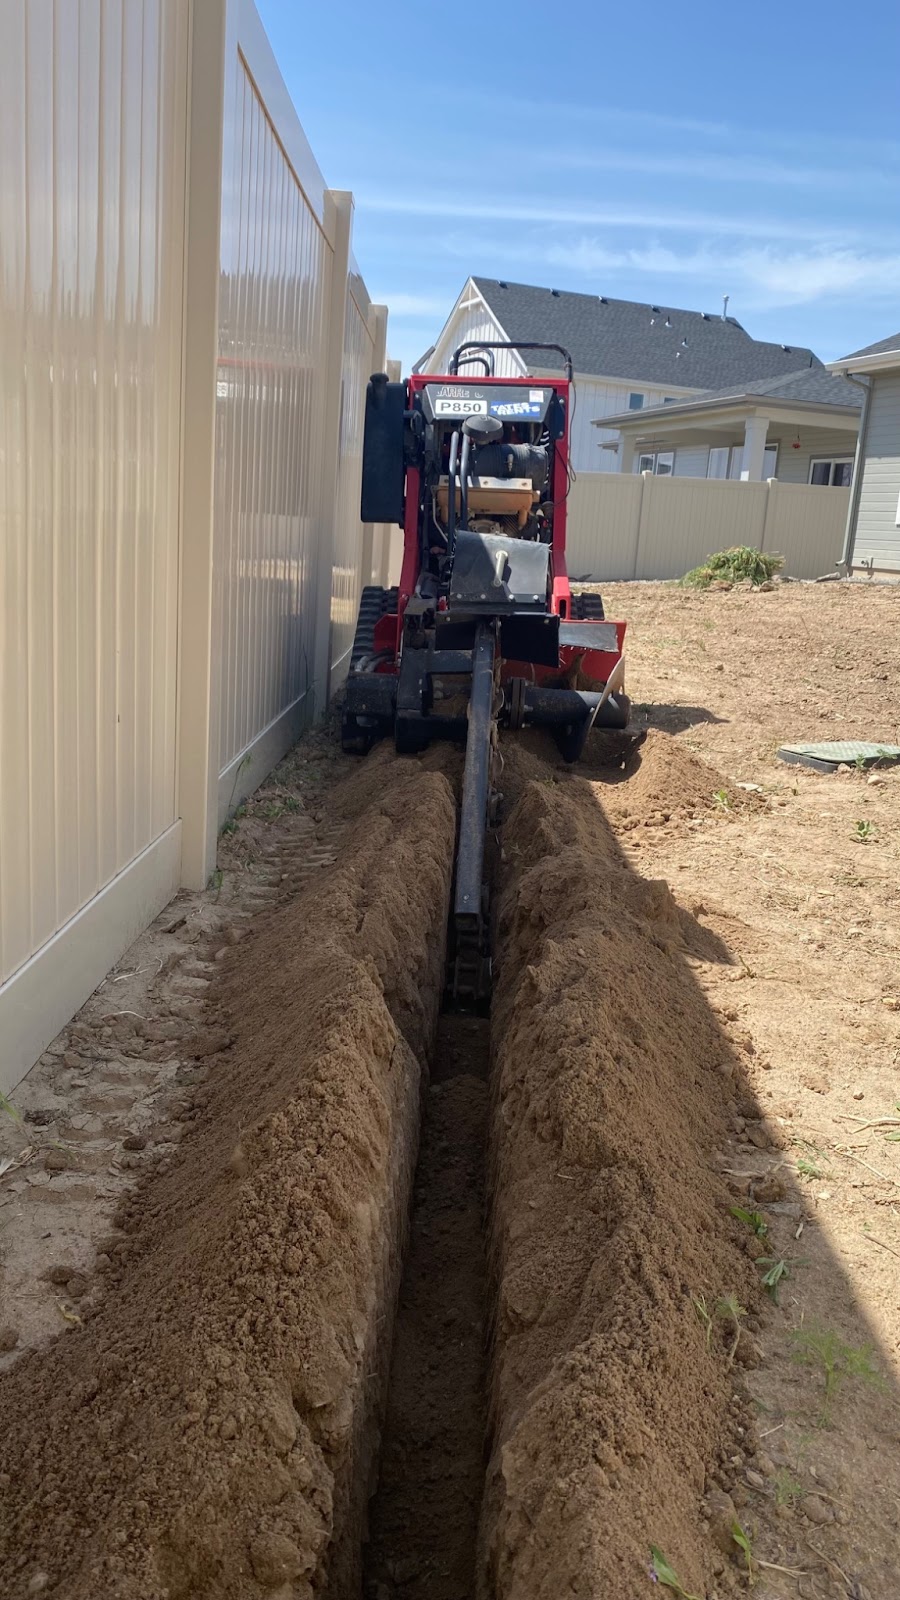
June has come and gone, and the weather is getting hot out there! DIY homeowners across the nation are planning to install residential sprinklers and keep their yards looking green. We tagged up with Brady Walling, Marketing Manager with local rental store Tates Rents in Boise, ID, to get a feel for his recent experience using the Barreto RTK Trencher to install a sprinkler system at his home. He reports that “The unit was extremely user-friendly, and ripped right through my trenches.”
 “Digging trenches manually is one of the most labor-intensive yard projects to do,“ says Brady. “My sprinkler installation project went amazing because of the Barreto RTK trencher - being able to knock that portion of the installation out in just about an hour was extremely beneficial. Especially in harder, rockier soil like my yard has, the use of the RTK was essential in my project.”
1. Call Before You Dig
The first step is to call 811 before you dig. “Calling before you dig is extremely important,” he says. “Being sure that you aren’t going to hit any of your personal or neighborhood utilities is crucial to staying safe and avoiding any dangerous or expensive damage that could be caused.”
811 is a national free phone service that allows homeowners to have their utilities mapped by local professionals. Do this well in advance of your project and before you rent equipment, as local utility contractors will come to your property to mark out potential hazards. You can locate your state’s information on the Call 811 website, and book a provider via phone or online. Remember: this service is free, but repairing a damaged utility is not - you could be financially responsible and endanger yourself and others by not taking these appropriate measures.
Depending on where you live, you may need a permit before installing your own sprinkler system. Check your local regulations to see what is needed before you start trenching.
2. Obtain Protective Gear
A great time to gather your protective gear is when you are waiting for the utilities to be mapped. Eye protection, ear protection, boots, and gloves are all essential ingredients to getting the job done safely. Make a plan for the day you begin work - have all gear gathered in advance and have a plan for the safety of others as well. Children should be tended to and safely clear of the area, and pets should also be secured away from the area.
3. Plot a Course and Measure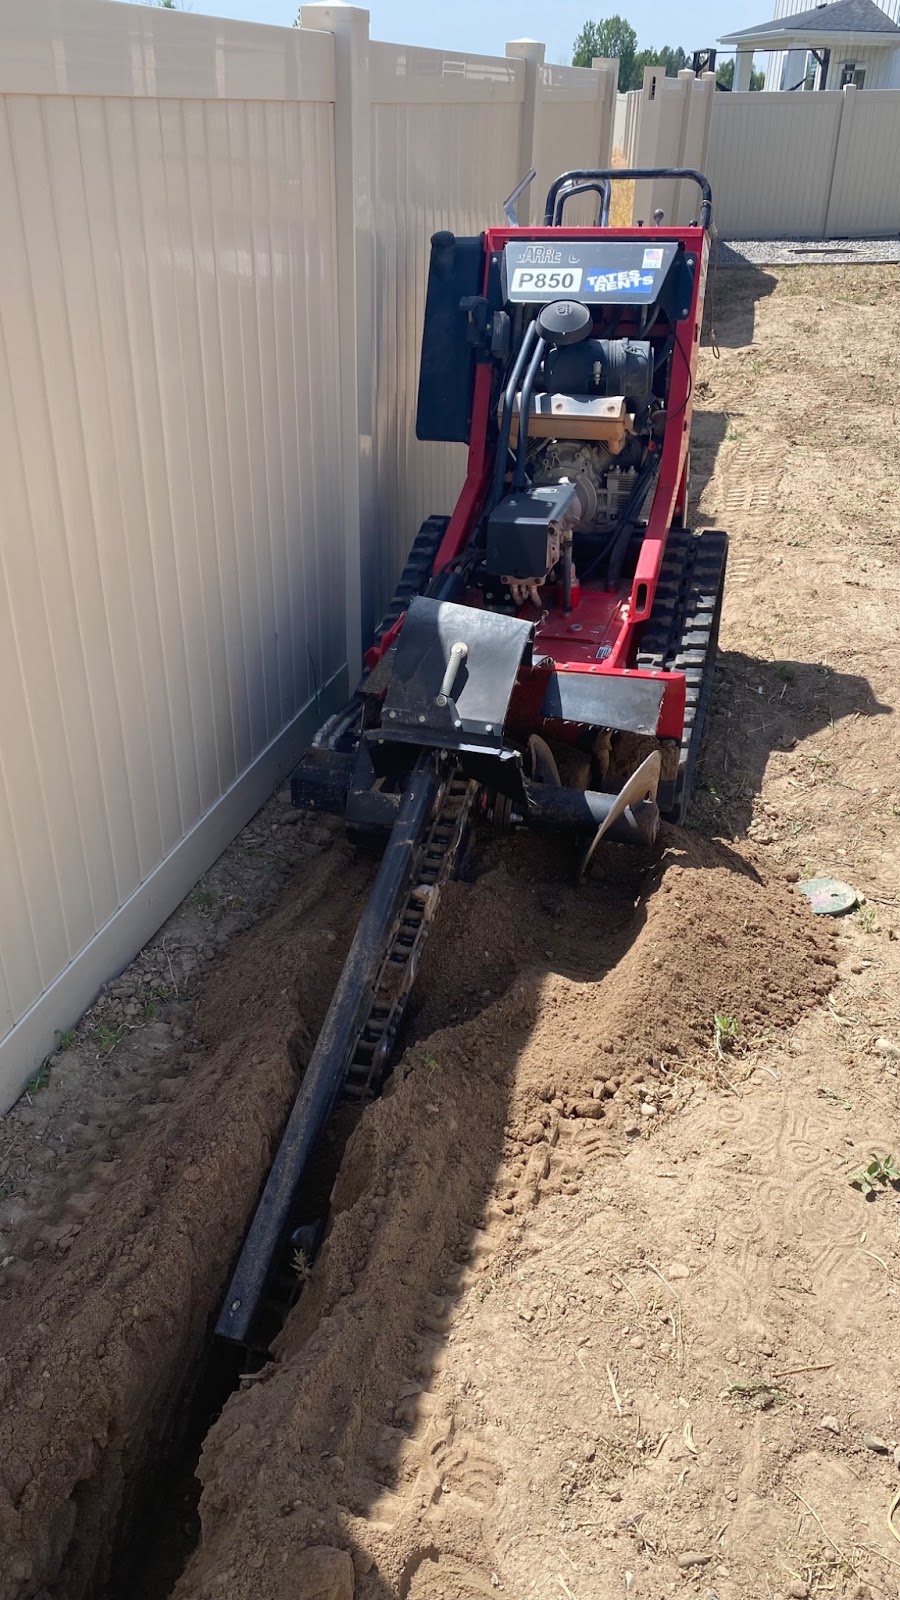
Consider how close to fences, garden barriers, landscape features, trees, tree roots, and patios you will need to trench. Trenchers are designed to fit through most garden gates, but take note of the width of the machine, and certain high or low spots that may inhibit your access with the trencher. The Barreto RTK Trencher, for example, is 35.5 inches wide. Trenchers are sizable, heavy units, and while they are still incredibly user friendly and nimble, they should not be operated on steep slopes or tight corners where operators may be endangered in case of an accident. One helpful strategy for trenching straight lines is to use stakes and string to map out the trenches. Following beside a string helps you stay on track with your trench and keep it straight.
4. Consider the Frost Line
Depending on location, the frost depth will vary. Tates Rents, for example, is located in an area that requires any sprinkler or irrigation lines to be trenched below the frost line of 24 inches - many trenchers can accommodate this depth and even go deeper.
5. Call Your Local Rental Store and Reserve a Trencher
Ask for a trencher that fits the job specifications (like depth and width of cut - most trenchers are 4-6 inches wide, and up to 48 inches deep). This is the time to ask what type of vehicle and/or trailer is required for pickup.
- Remember that the length of the boom limits how deep you can trench. You can always trench shallower than the depth of the boom. If you aren’t sure which machine to rent, consult your local tool rental crew, and they will be able to guide you toward the best fit for your project.
- Crumbers and backfill blades are useful tools as well - crumbers clear the trench of soil while trenching, and backfill blades can be attached to the front of the trencher to scoop dirt back into the trench after trenching.
- Stand-ons offer ease of use, while walk behinds are great, user friendly options as well.
- Two types of trenchers are most commonly available - tracked units or wheeled units.
Being in the rental business, Brady advises that “If you are a busy homeowner looking to knock out some projects on your own and save money, I highly recommend either renting on the weekends or overnight. For the weekend warriors, giving yourself enough time over the weekend is a great way to ensure you make the most of your rental. For quicker projects and short-run trenches, renting at the end of your workday until the following morning should give you plenty of time for your project and keep costs low!”
6. Pickup Your Unit, and Learn How to Operate It
The techs at Tates Rents are excellent, knowledgeable resources who are eager to show you around the new machine. This is the best time to do a run through and ask questions about operation. For videos on operation, check out our YouTube resources: RTK Quick Start Guide, and RTK Safety Information.
7. Start to Trench
Position the trencher to make the first cut. Engage the chain drive, and begin to trench. If the machine slows or bogs down, it means the operation speed is too fast for the current setup and soil type. Ease off the speed and allow the chain to return to a steady pace. If the trencher is equipped with Automatic Trenching Control (ATC), adjust this accordingly to set a good trenching pace.
“With the larger Barreto trencher, any tight corners you must make where you can’t back the machine away from both sides of the corner may need to be cleared out by hand, which was still much easier due to the soil already being broken up by the trencher. My soil is extremely dry and rocky, so hand digging a large area was out of the question. The trencher pushed right through any rocks and hard patches of soil with ease,” he said.
8. Why DIY?
While it may seem daunting to endeavor on a DIY project, equipment rental solutions make it easy to source and manage industrial equipment that is up to the task. Brady advises, “If you are looking to save money and do your own trenching project, be sure to Call Before You Dig, have a layout of where your trenches need to lie (there are many resources online that can walk you through designing your sprinkler system based on your parameters), and find a time that works best for you to rent and knock out your project!”
 Rental stores pride themselves on providing equipment that is easy to obtain and easier to operate for the average homeowner. Anyone can do it - for example, Tates Rents recently rented a trencher out to local YouTuber, Mr. Build It - checkout this great video on installing your own DIY Sprinkler System here.
If you’re in Tates Rents vicinity in the Boise, ID area, be sure to rent equipment for your next project online at tatesrents.com, visit them in store, or give them a call at (208) 314-5451. Happy trenching!